
The installation of a solar photovoltaic (PV) system requires not only technical knowledge but also the right set of tools and tackles to ensure safe, efficient, and high-quality work. From mounting solar panels to electrical wiring and system testing, each stage of installation demands specific tools.
For solar installers and EPC professionals, using the correct tools improves productivity, ensures safety, and reduces installation errors, ultimately optimizing solar panel system cost. Proper identification and usage of tools is a fundamental requirement for successful solar PV installations.
This blog provides a complete checklist of tools and tackles required for solar PV panel installation, along with their uses and importance.
Importance of Using Proper Tools in Solar Installation
Using the right tools ensures:
- Accurate installation
- Reduced risk of damage
- Improved safety
- Faster project completion
- Better solar electricity system performance
Improper tools can lead to poor installation quality and increased solar installation charges.
Categories of Tools and Tackles
Solar installation tools can be categorized into:
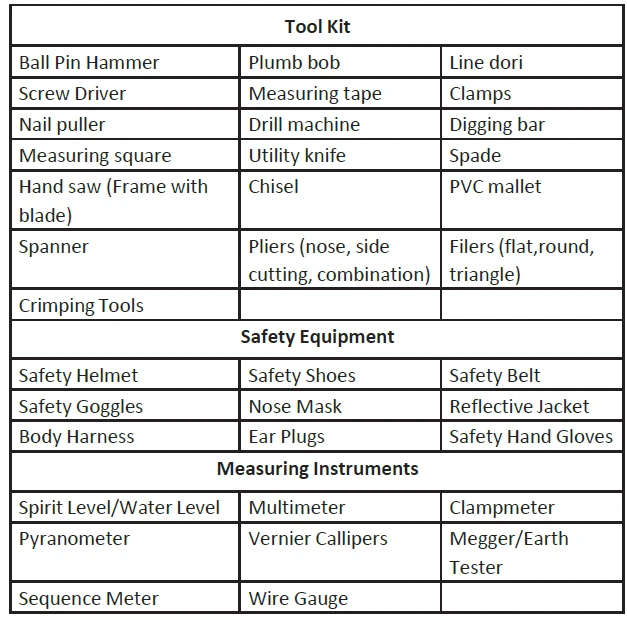
- Mechanical tools
- Electrical tools
- Measuring and testing instruments
- Safety equipment
Mechanical Tools
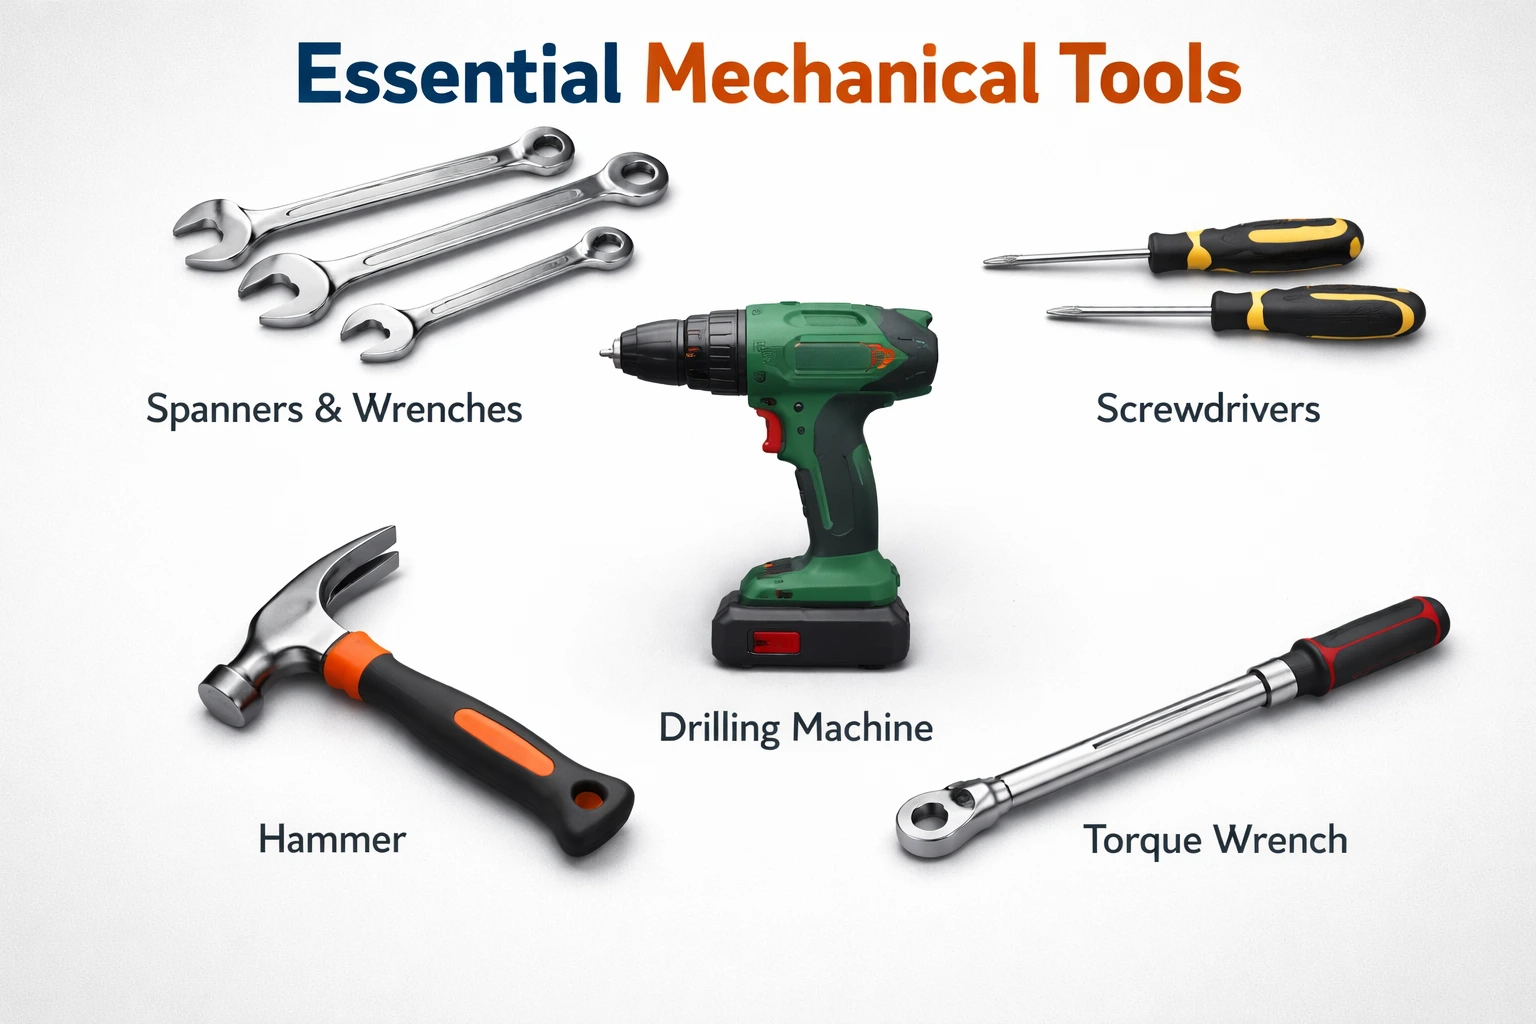
- Spanners and Wrenches
Used for tightening nuts and bolts in mounting structures.
Types:
- Open-end spanner
- Ring spanner
- Adjustable wrench
- Screwdrivers
Used for fastening screws in electrical and structural components.
Types:
- Flat-head
- Phillips-head
- Drilling Machine
Used for making holes in rooftops or structures for mounting.
Features:
- Electric or cordless
- Variable speed
- Hammer
Used for minor fitting and adjustments.
- Torque Wrench
- Ensures bolts are tightened with the correct torque.
- Important for maintaining structural integrity.
Electrical Tools
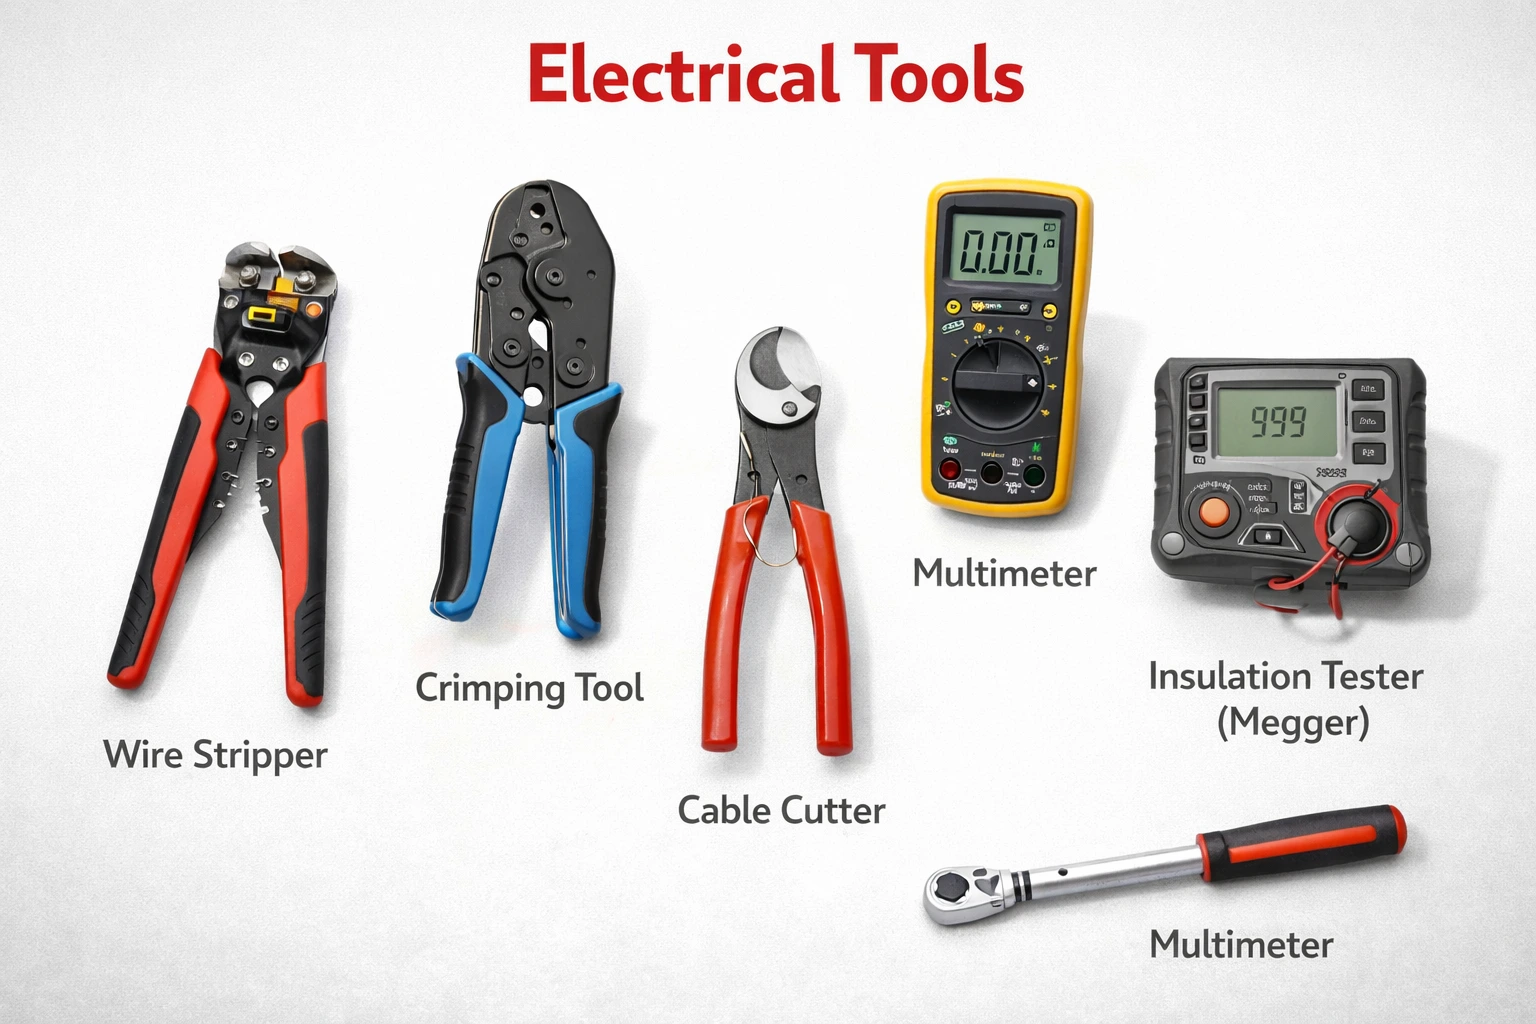
- Wire Stripper
- Used to remove insulation from cables.
- Crimping Tool
- Used for attaching connectors to cables.
- Ensures secure electrical connections.
- Cable Cutter
- Used for cutting cables cleanly.
- Multimeter
Used to measure:
- Voltage
- Current
- Resistance
Essential for testing solar electricity systems.
- Insulation Tester (Megger)
- Used to check the insulation resistance of cables.
- Ensures safety and system reliability.
Measuring and Testing Instruments
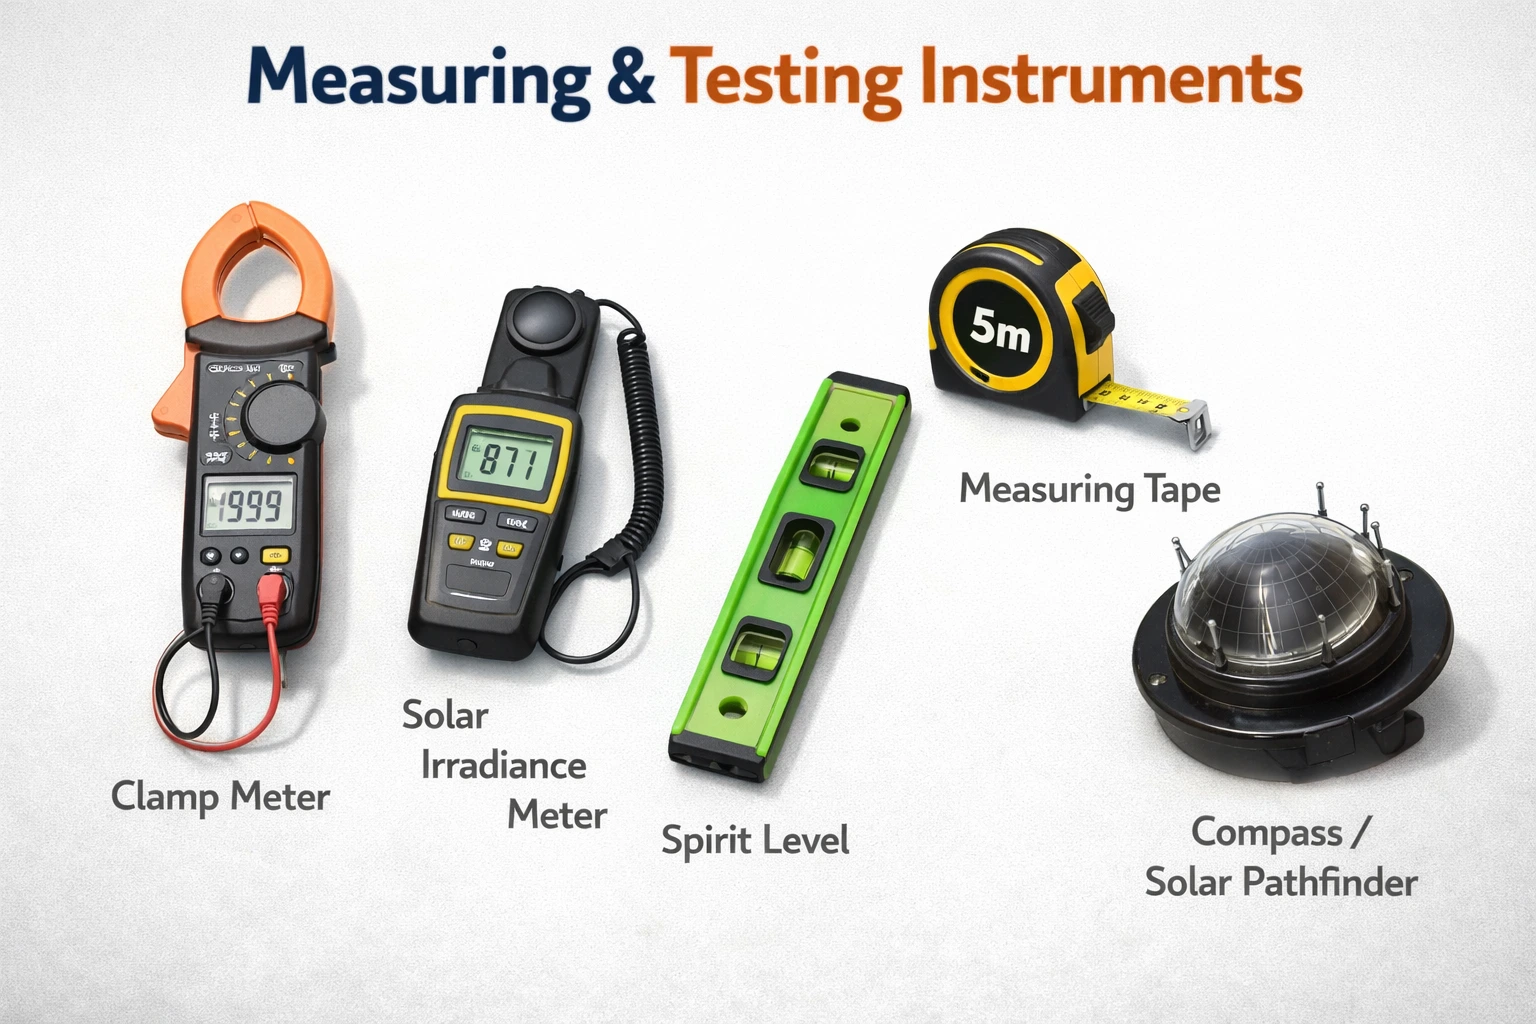
- Clamp Meter
- Measures current without disconnecting the circuit.
- Solar Irradiance Meter
- Measures sunlight intensity.
- Helps in the performance analysis of the solar plant.
- Spirit Level
- Ensures proper alignment of solar panels.
- Measuring Tape
- Used for accurate measurements during installation.
- Compass or Solar Pathfinder
- Used to determine panel orientation and perform shadow analysis.
Safety Equipment
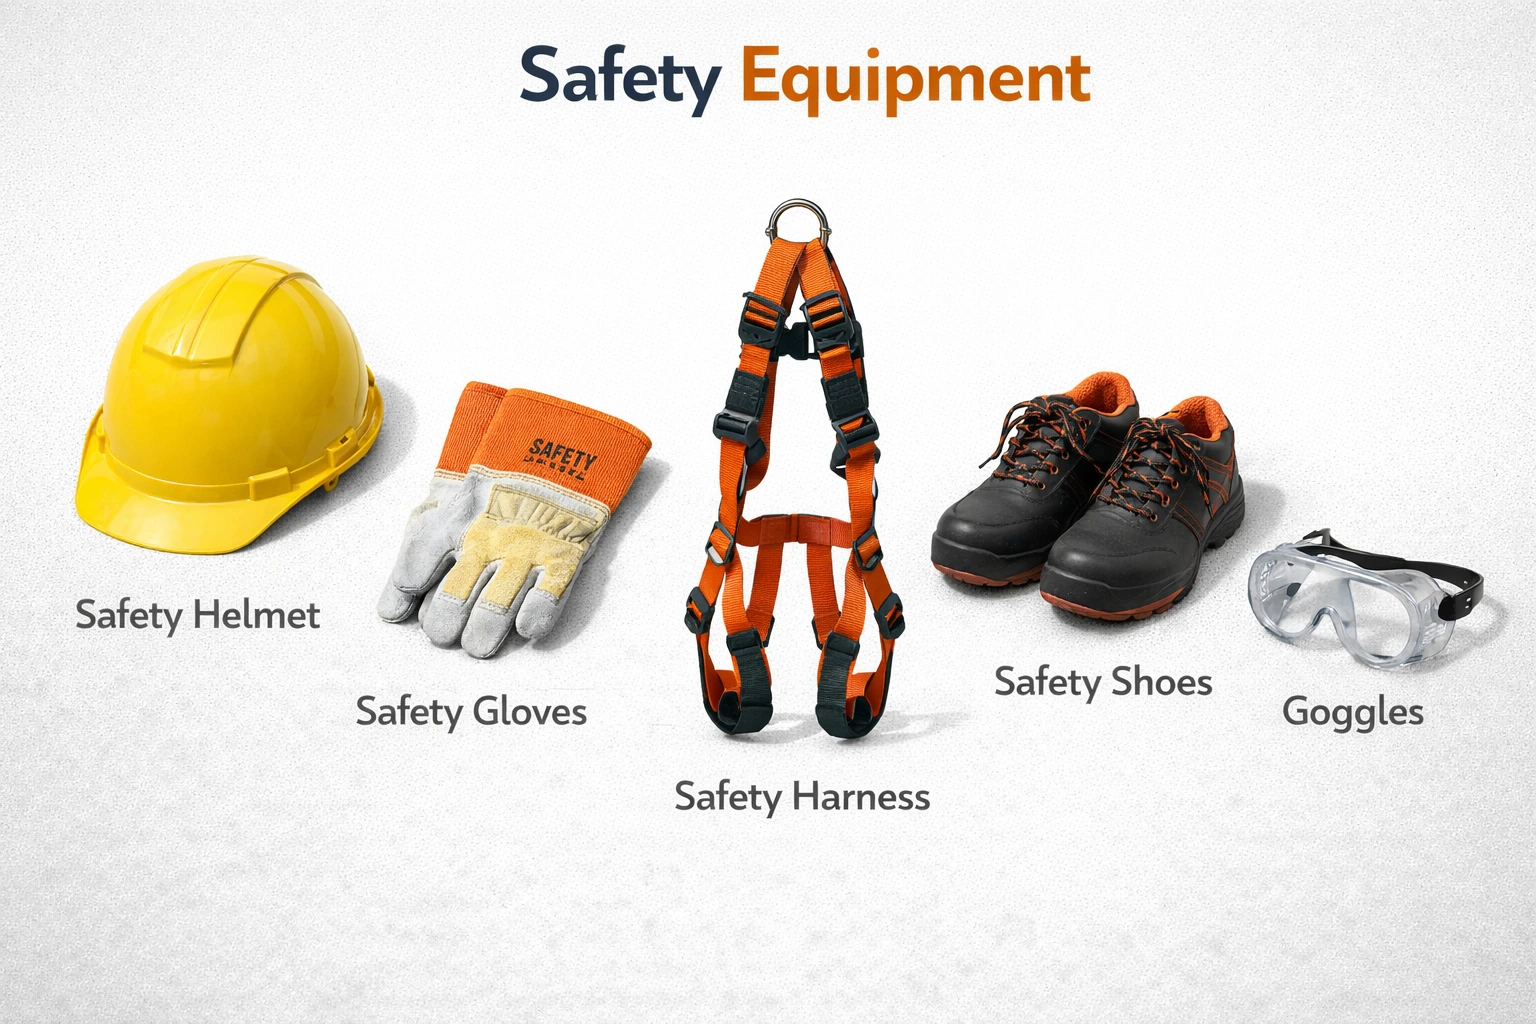
- Safety Helmet
- Protects against head injuries.
- Safety Gloves
- Prevents electrical and mechanical injuries.
- Safety Harness
- Essential for rooftop installations.
- Safety Shoes
- Protect feet from heavy objects and electrical hazards.
- Goggles
- Protect eyes during drilling and cutting.
Specialized Tools for Solar Installation
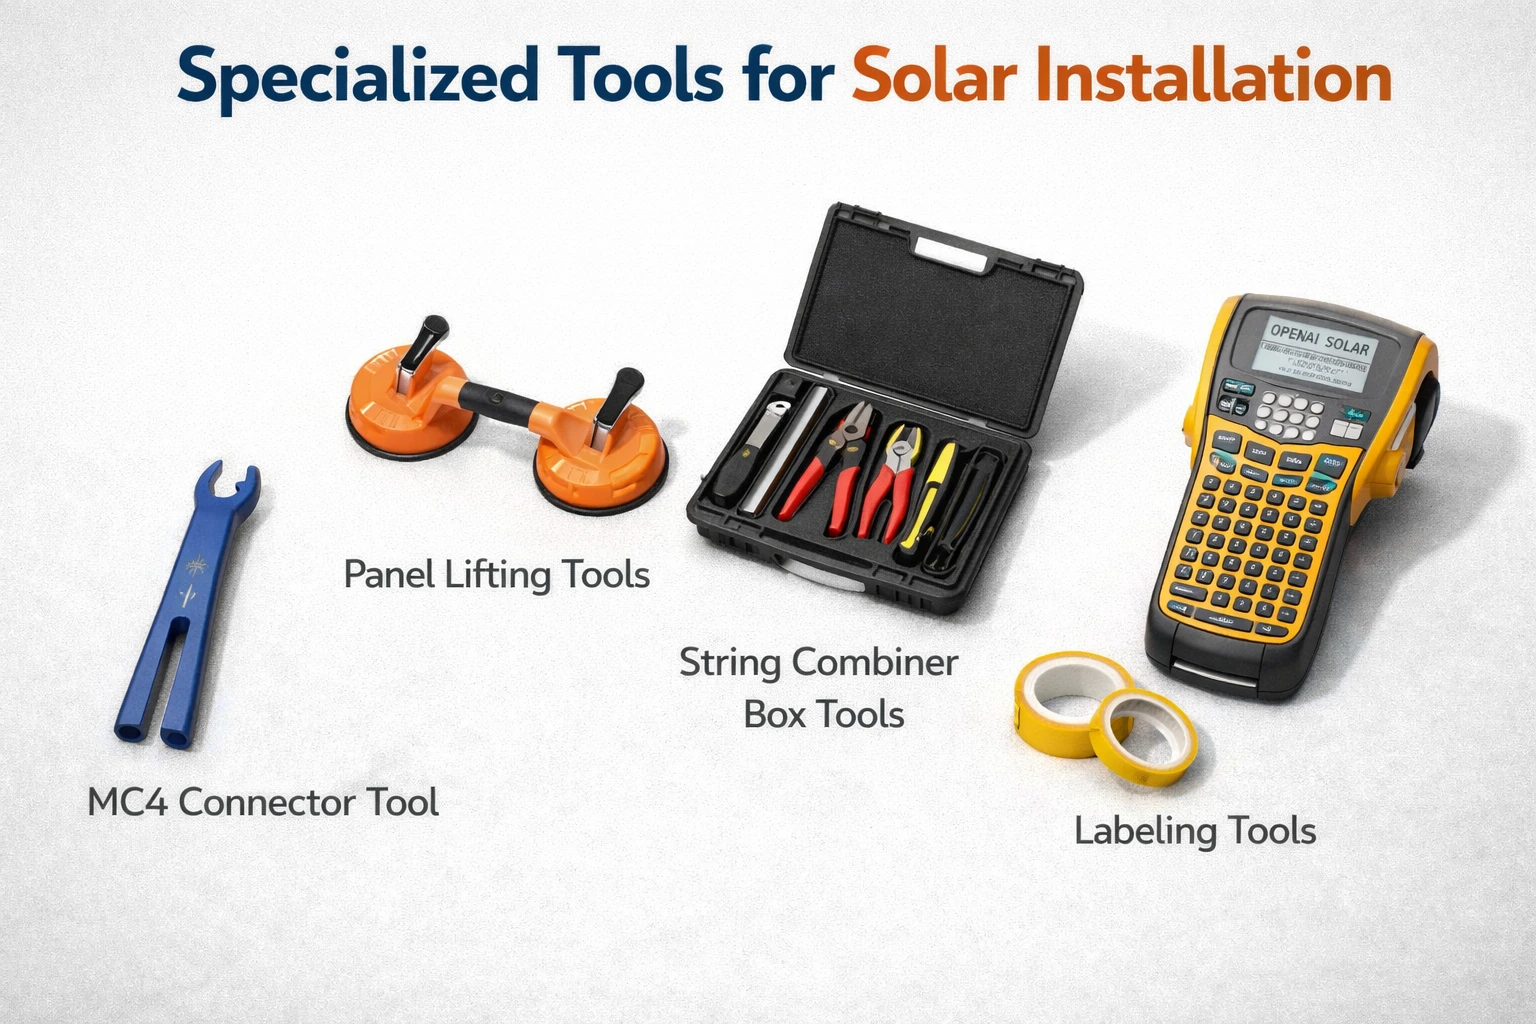
- MC4 Connector Tool
- Used for connecting solar cables securely.
- Panel Lifting Tools
- Used to safely lift and position solar panels.
- String Combiner Box Tools
- Used for assembling and wiring combiner boxes.
- Labeling Tools
- Used for marking cables and components.
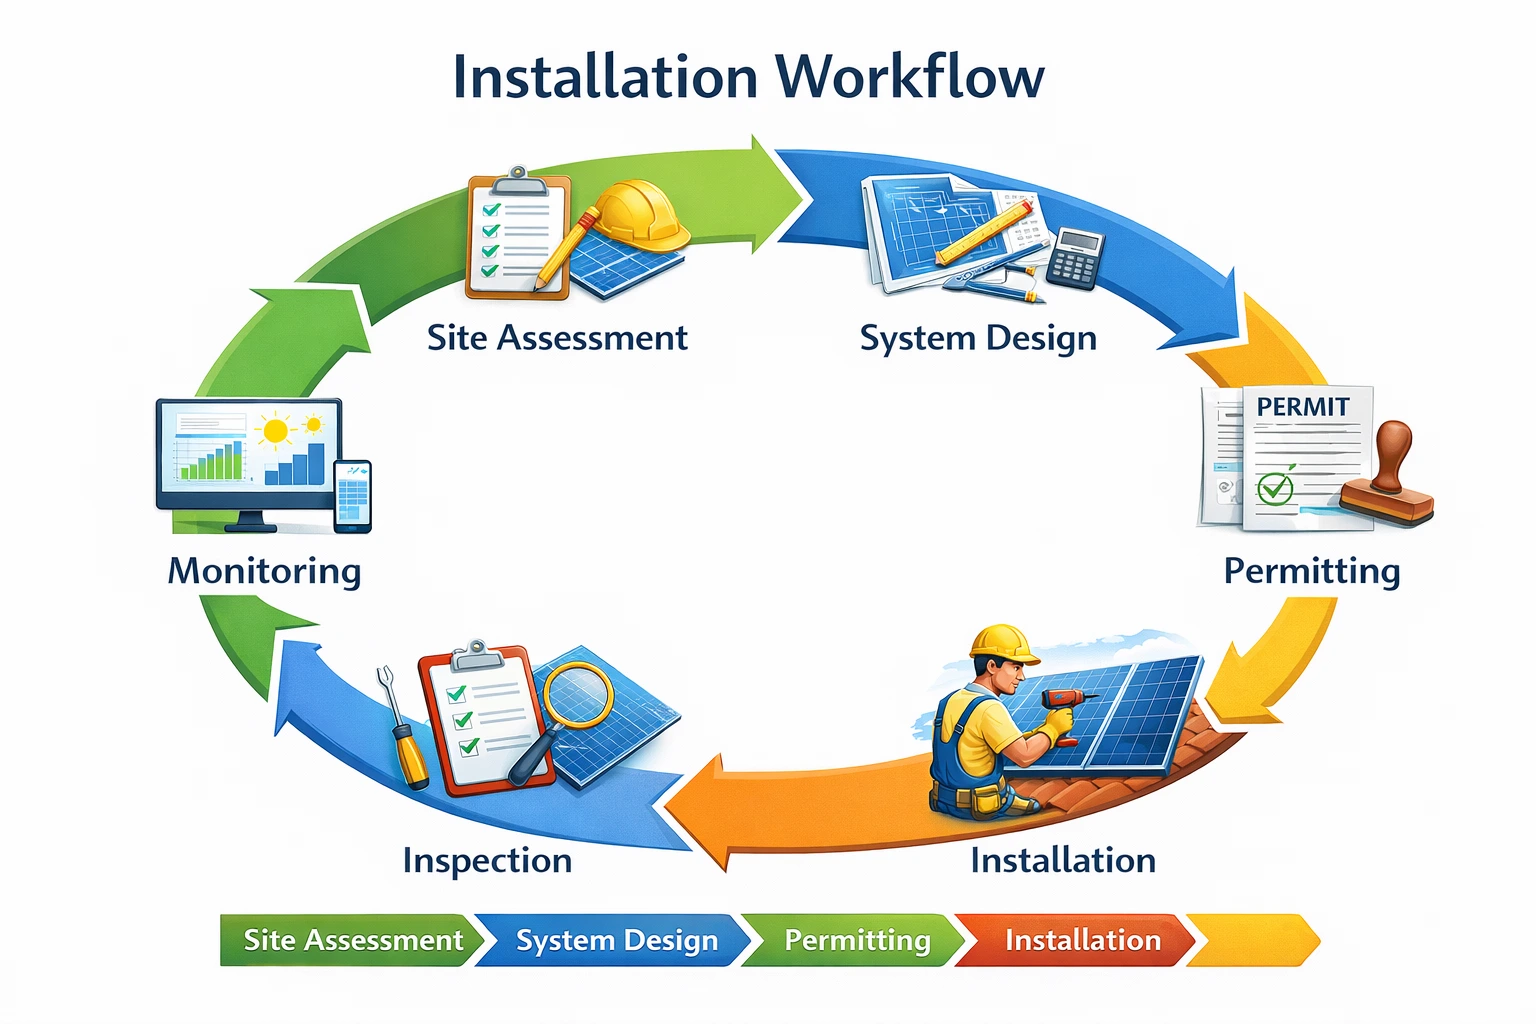
Step-by-Step Use of Tools During Installation
Step 1 – Site Preparation
- Use measuring tools and drilling machines to prepare the installation area.
Step 2 – Mounting Structure Installation
- Use spanners, torque wrenches, and drilling tools.
Step 3 – Panel Installation
- Use lifting tools and alignment instruments.
Step 4 – Electrical Wiring
- Use wire strippers, crimping tools, and cable cutters.
Step 5 – Testing and Commissioning
- Use a multimeter, clamp meter, and insulation tester.
Impact on Solar Panel System Cost
Using proper tools helps:
- Reduce installation time
- Prevent damage to components
- Improve system efficiency
- Lower maintenance costs
- Optimize the cost of solar per kWh installed
Common Mistakes to Avoid
- Using improper or low-quality tools
- Ignoring safety equipment
- Incorrect torque application
- Poor cable connections
- Skipping testing procedures
Best Practices for Installers
- Always use certified tools
- Maintain tools regularly
- Follow safety protocols
- Use proper torque settings
- Test the system thoroughly after installation
Conclusion
The installation of solar PV panels requires a wide range of tools and tackles to ensure safe, efficient, and high-quality work. By using the right tools at each stage, from mounting and wiring to testing and commissioning, installers can improve system performance and reduce errors. Proper tool usage also helps in optimizing solar energy installation cost and ensuring long-term reliability.
Understanding and using the correct tools is essential for professional solar installers. Additionally, adherence to safety and quality standards set by the Ministry of New and Renewable Energy ensures reliable and safe renewable solar system implementation.
With the right tools and best practices, solar professionals can optimize solar panel system cost, enhance solar electricity generation, and contribute to the growth of sustainable solar energy for home use and large-scale renewable solar projects.
FAQs
Q1. What are the essential tools for solar panel installation?
Ans: Spanners, screwdrivers, drilling machines, multimeters, and safety equipment are essential tools.
Q2. Why is a torque wrench important in solar installation?
Ans: It ensures bolts are tightened correctly, preventing structural issues.
Q3. What tools are used for electrical connections?
Ans: Wire strippers, crimping tools, cable cutters, and multimeters.
Q4. Why is safety equipment necessary?
Ans: It protects installers from injuries and ensures safe working conditions.
Q5. Are specialized tools required for solar installation?
Ans: Yes, tools like MC4 connector tools and irradiance meters are specifically used in solar systems.
Haryana and UP Face Delays in Solar Net Metering Approvals
Net metering for rooftop solar in Haryana and Uttar Pradesh faces procedural delays, affecting solar adoption and efficiency for residential and commercial consumers
Top Industrial Solar EPC: How to Choose the Right Solar EPC Company for Industries in India
Choosing the right industrial solar EPC is critical for plant performance and ROI. This guide explains how Indian industries can select the best solar EPC partner.
CAPEX or OPEX? How to Choose the Best Solar Ownership Model
Choosing between the CAPEX and OPEX models can greatly impact your solar savings and ownership benefits. This guide explains both models to help you make the right decision.
Sloped Roof Solar Anchors & Attachments Installation Guide
A step-by-step guide to sloped roof solar anchors installation, covering roof attachments, fixing techniques, and best practices for durable and leak-proof systems.
Solar Rooftop Projects: Benefits of Intentional Islanding for Power Backup
Discover the role of intentional islanding in solar rooftop projects. Ensure continuous power supply, system safety, and reliable energy even during grid failures.
Can Solar Systems Support Industrial Motors and Machines? A Complete Guide
Discover how using solar for heavy machines can power industrial equipment reliably and cost-effectively for greener operations.
Battery Inspection in Solar PV Systems Guide
A complete guide to battery inspection in solar PV systems, helping identify performance issues, safety concerns, and maintenance requirements.
How Installers Cut Costs on Solar PV Module Mounting Structures
Solar PV mounting structures can significantly impact project cost. Explore how expert installers optimize design, materials, and labor to achieve safe, durable, and cost-effective solar installations