
Grid-connected solar photovoltaic (PV) systems are designed to operate in synchronization with the utility grid, delivering clean and reliable electricity while ensuring the safety of both the electrical network and maintenance personnel. However, interruptions in the grid power supply can occur due to utility outages, transmission faults, voltage fluctuations, frequency instability, equipment failures, or scheduled maintenance. During such events, a grid-connected solar PV system may automatically disconnect from the utility network through its anti-islanding protection mechanism to prevent unsafe conditions.
While grid interruptions are often caused by external utility issues, they can also expose faults within the solar PV system itself. If the system fails to reconnect after grid power is restored or experiences repeated shutdowns, technicians must follow a systematic troubleshooting procedure to identify and resolve the underlying problem. Randomly replacing components without proper diagnosis can increase maintenance costs, prolong downtime, and create additional safety risks.
A sequential troubleshooting process involves inspecting the grid supply, protection devices, inverter status, wiring, combiner boxes, monitoring systems, and electrical measurements in a logical order. This structured approach minimizes unnecessary testing, improves fault identification, and restores normal operation efficiently.
Performing troubleshooting activities in the correct sequence is a fundamental competency for solar installers, commissioning engineers, EPC contractors, and operations and maintenance (O&M) professionals.
This comprehensive guide explains the causes of grid power interruptions, the standard troubleshooting sequence, testing procedures, required tools, documentation practices, safety precautions, and industry best practices.
Why Is Sequential Troubleshooting Important?
A structured troubleshooting process helps technicians:
- Identify faults accurately
- Avoid unnecessary equipment replacement
- Reduce system downtime
- Improve safety
- Restore solar electricity generation quickly
- Improve the renewable solar system efficiency
- Reduce maintenance costs
Following a logical sequence ensures efficient fault diagnosis.
Common Causes of Grid Power Supply Interruptions
Grid interruptions may occur because of:
- Utility power outages
- Scheduled maintenance
- Transmission line faults
- Distribution transformer failures
- Overvoltage
- Undervoltage
- Frequency deviations
- Severe weather conditions
- Lightning strikes
- Utility protection operations
The solar PV system may disconnect automatically until grid conditions return to acceptable limits.
Possible Solar PV System Faults After Grid Restoration
If the system does not restart after grid power returns, possible causes include:
- Inverter faults
- Grid synchronization failure
- AC breaker trip
- Utility disconnect switch open
- DC combiner box faults
- Blown fuses
- Damaged cables
- Loose electrical connections
- Communication failure
- Protection relay operation
- Ground faults
- Insulation failure
These faults require systematic investigation.
Tools Required for Troubleshooting
Technicians commonly use:
- Digital multimeter
- Clamp meter
- Insulation resistance tester (Megger)
- Phase sequence tester
- Power quality analyzer
- Earth resistance tester
- Infrared thermal camera
- PV analyzer
- Laptop or inverter monitoring software
- Personal Protective Equipment (PPE)
Only calibrated instruments should be used.
Sequential Troubleshooting Procedure
Step 1 – Ensure Safety
Before beginning troubleshooting:
- Follow Lockout/Tagout (LOTO) procedures where applicable.
- Verify that the work area is safe.
- Wear appropriate PPE.
- Inform relevant personnel.
Safety must always be the first priority.
Step 2 – Confirm Utility Grid Status
Determine whether the interruption is caused by:
- Utility outage
- Local distribution fault
- Planned maintenance
- Temporary voltage fluctuation
Verify grid availability before troubleshooting the solar system.
Step 3 – Check Utility Disconnect Switch
Inspect:
- Utility disconnect switch
- AC isolator
- Main circuit breaker
Ensure all switches are in the correct operating position.
Step 4 – Measure Grid Voltage
Using a digital multimeter:
Measure:
- Phase-to-phase voltage
- Phase-to-neutral voltage
Verify that voltage remains within allowable operating limits.
Step 5 – Verify Grid Frequency
Measure system frequency. Grid-connected inverters operate only within specified frequency ranges.
Abnormal frequency may prevent synchronization.
Step 6 – Check AC Protection Devices
Inspect:
- AC circuit breakers
- Fuses
- Residual Current Devices (RCDs)
- Surge Protection Devices (SPDs)
Replace or reset faulty devices if necessary.
Step 7 – Inspect the Inverter
Check the inverter display for:
- Error codes
- Warning messages
- Grid synchronization status
- Startup sequence
- Event logs
Manufacturer fault codes provide valuable diagnostic information.
Step 8 – Verify DC Side Operation
Inspect:
- DC combiner box
- DC isolator
- String fuses
- PV cables
- Module connectors
Measure:
- DC voltage
- String current
Ensure the PV array is supplying adequate input power.
Step 9 – Check Communication Systems
Inspect:
- Monitoring system
- Data logger
- Communication cables
- Internet connection (if applicable)
Communication failures may affect monitoring but not necessarily power generation.
Step 10 – Perform Grounding Inspection
Verify:
- Equipment grounding
- Earthing resistance
- Bonding connections
Poor grounding may trigger inverter protection.
Step 11 – Measure Insulation Resistance
Use an insulation resistance tester to evaluate:
- PV strings
- DC cables
- AC cables
Low insulation resistance indicates possible moisture ingress or cable damage.
Step 12 – Verify Anti-Islanding Function
Ensure that:
- Anti-islanding protection operates correctly.
- The inverter reconnects automatically after grid stability is restored.
- Reconnection delay complies with manufacturer settings.
Improper anti-islanding operation requires immediate attention.
Step 13 – Perform Functional Testing
After repairs:
Verify:
- Inverter startup
- Grid synchronization
- Stable AC output
- Normal current flow
- Energy generation
- Monitoring system operation
Confirm that all parameters are within acceptable limits.
Step 14 – Record Findings
Document:
- Nature of interruption
- Test results
- Fault identified
- Corrective actions
- Final operating status
- Technician details
Proper documentation supports future maintenance.
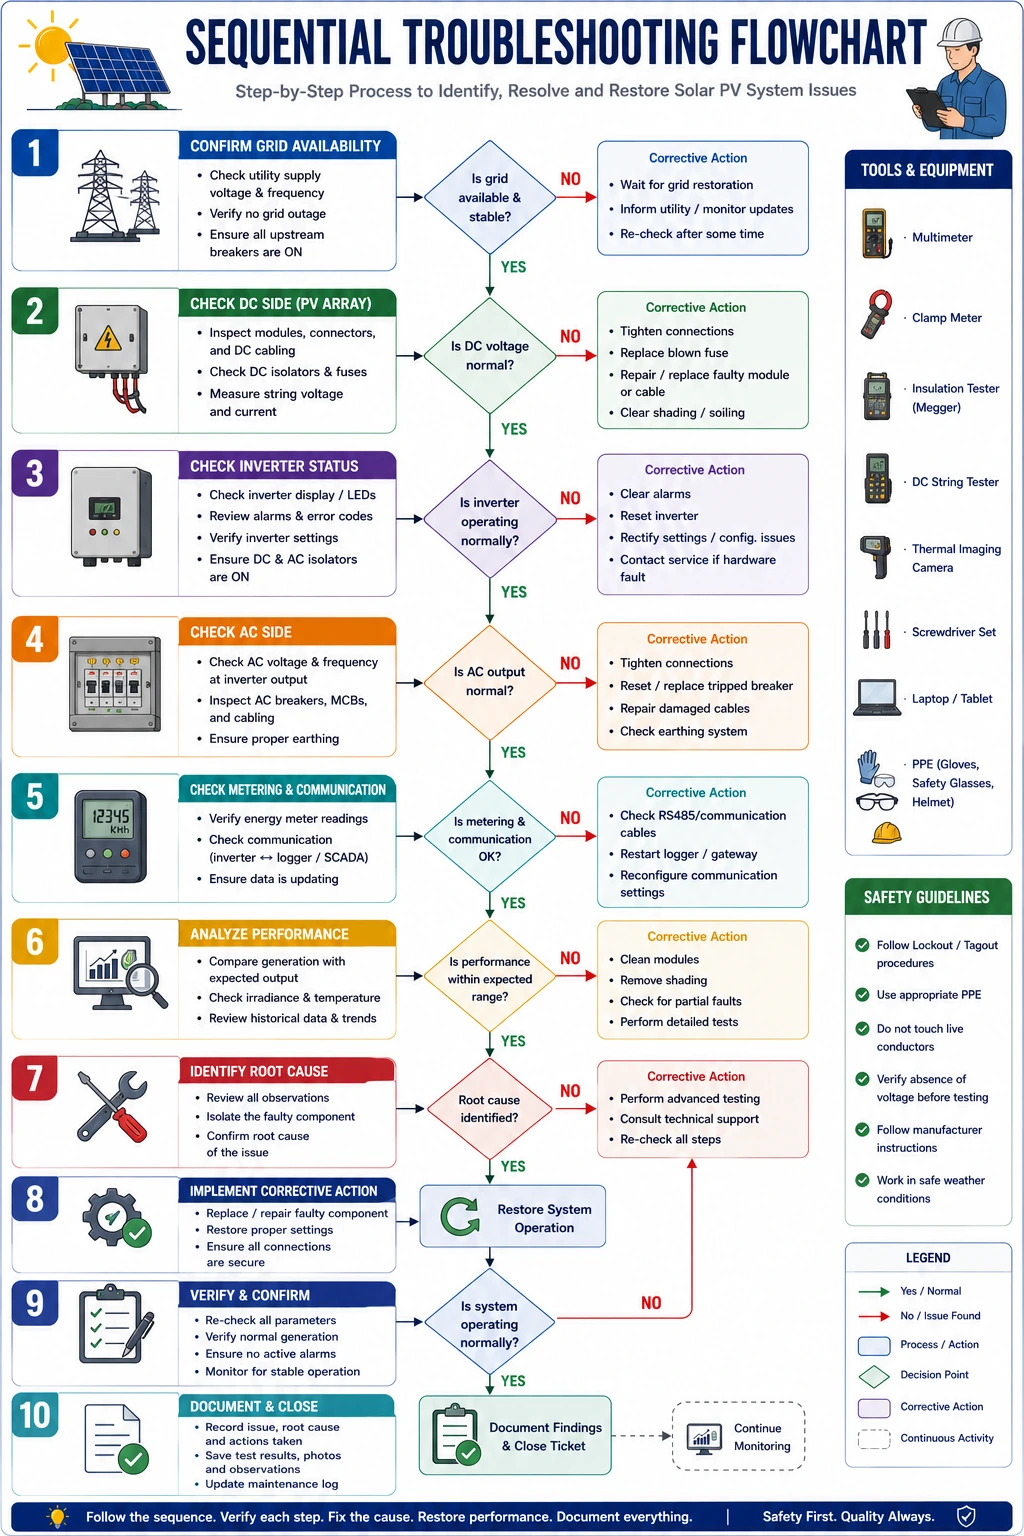
Troubleshooting Flowchart
- Ensure safety
- Confirm utility grid availability
- Check disconnect switches and breakers
- Measure grid voltage and frequency
- Inspect inverter status and error codes
- Verify DC input from PV strings
- Inspect grounding and insulation resistance
- Check communication systems
- Test anti-islanding operation
- Restore the system and verify performance
- Document findings
Common Faults and Corrective Actions
Fault | Corrective Action |
Utility outage | Wait for grid restoration |
Low grid voltage | Notify the utility and monitor conditions |
Tripped AC breaker | Identify the cause and reset or replace |
Inverter synchronization error | Verify voltage, frequency, and settings |
Blown DC fuse | Replace after identifying the root cause |
Loose cable connection | Tighten or replace connectors |
Insulation failure | Repair damaged cables or equipment |
Ground fault | Locate and eliminate the fault before restarting |
Conclusion
A structured and sequential troubleshooting approach is essential for identifying and resolving faults that occur during grid power supply interruptions in solar PV systems. Beginning with safety verification and utility grid assessment, followed by systematic inspection of electrical protection devices, inverter operation, DC input, grounding, insulation resistance, communication systems, and anti-islanding functionality, allows technicians to diagnose problems accurately and restore the system efficiently. This organized methodology minimizes downtime, prevents unnecessary equipment replacement, and ensures safe and reliable solar electricity generation.
Sequential fault diagnosis is a core competency for solar installers, EPC contractors, commissioning engineers, and operations and maintenance professionals. Furthermore, following technical recommendations and safety practices promoted by the Ministry of New and Renewable Energy, together with manufacturer guidelines and local electrical standards, ensures that troubleshooting activities are performed safely, accurately, and in compliance with industry requirements.
By implementing standardized troubleshooting procedures, maintaining detailed inspection records, using calibrated testing instruments, and addressing faults promptly, solar professionals can optimize solar panel system cost, enhance renewable solar system reliability, maximize solar electricity generation, reduce the cost of solar per kWh installed, and ensure the long-term success of residential, commercial, industrial, and utility-scale solar energy projects.
FAQs
Q1. Why should troubleshooting follow a sequence during grid power interruptions?
Ans: Following a systematic sequence helps technicians identify the actual cause of the interruption efficiently, reduces unnecessary testing, improves safety, and prevents incorrect replacement of components.
Q2. What should be checked first during a grid-related solar PV fault?
Ans: The first step is to confirm whether the utility grid is available and stable. Grid voltage, frequency, and utility disconnect switches should be verified before inspecting the solar PV system.
Q3. Why does a grid-connected inverter stop operating during a power outage?
Ans: Grid-connected inverters are equipped with anti-islanding protection, which automatically disconnects the system during a utility outage to protect utility workers, equipment, and the electrical network.
Q4. Which instruments are commonly used during troubleshooting?
Ans: Technicians typically use a digital multimeter, DC clamp meter, insulation resistance tester, power quality analyzer, earth resistance tester, infrared thermal camera, and PV analyzer for comprehensive fault diagnosis.
Q5. What should be done if the inverter does not reconnect after the grid is restored?
Ans: Technicians should inspect inverter fault codes, verify grid voltage and frequency, check AC and DC protection devices, inspect grounding and insulation resistance, confirm DC input from the PV array, and follow the manufacturer’s troubleshooting procedure before restarting the system.
Solar Panel Installation on Tiled Roofs: Complete Homeowner Guide
When you’re ready to install solar panels on your home, there are many factors that will determine the unique design and cost of your solar system. Various roof types require different processes for installation. For example, lightweight tile roofs can present unique challenges and considerations for a solar installer. Here are a few things you need to know before adding solar energy to your tile roof.
Why Industrial Solar Plants Underperform
Understand what happens when an industrial solar plant underperforms, how it affects energy generation and cost savings, and how monitoring, diagnostics, and preventive maintenance can improve performance.
Solar Site Safety Plan and Work Area Management Guide
A step-by-step guide to solar inverter stand installation as per drawings and manuals, ensuring proper alignment, stability, and safety.
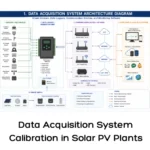
Data Acquisition System Calibration in Solar PV Plants
A complete guide to solar PV data acquisition system calibration, ensuring accurate monitoring, reliable data collection, and effective performance analysis.
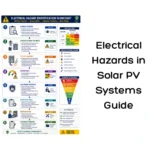
Electrical Hazards in Solar PV Systems Guide
A complete guide to identifying electrical hazards in solar PV systems, covering shock, arc flash, DC voltage, wiring, grounding, and electrical fire risks.
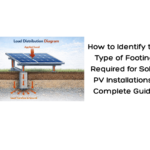
How to Identify the Type of Footing Required for Solar PV Installations: Complete Guide
Learn how to identify the right footing for solar PV installations based on soil conditions, load requirements, and site factors. This complete guide covers different foundation types, selection criteria, and practical insights for safe and efficient solar system design.
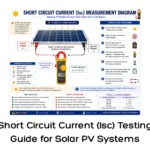
Short Circuit Current (Isc) Testing Guide for Solar PV
A complete guide to measuring short circuit current (Isc) in solar PV systems, including testing methods, safety guidelines, and performance evaluation for accurate system assessment.
Solar PV Conduit & Cable Routing Plan Guide
A complete guide to preparing solar PV conduit and cable routing plans, including layout design, routing methods, and installation best practices.